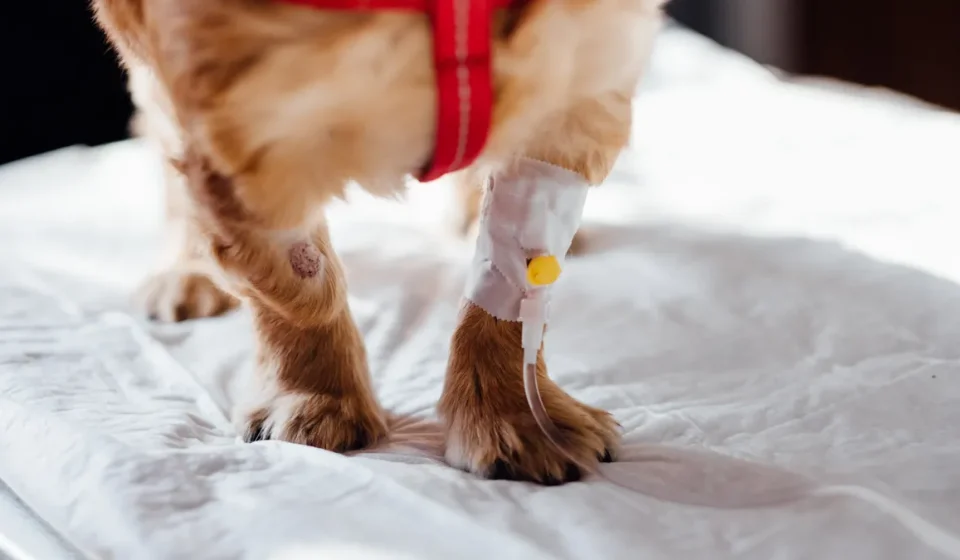
How to Wrap a Paw or Leg to Protect a Pet Injury Before Vet Care

Last updated: November 05, 2026
Key Takeaways
- Gather gauze, padding, self-adhesive wrap, and tape before handling the paw.
- Hold the paw naturally and wrap from the toes upward.
- Padding helps prevent pressure sores.
- Do not bandage a crooked limb, severe swelling, or a leg the pet cannot use.
A pet paw bandage is a temporary wrap that protects an injured paw or lower leg until a vet can examine it. This guide on how to wrap a paw or leg to protect a pet injury before vet care gives a short-term option, not a diagnosis. A 2023 review of veterinary bandaging still emphasizes careful monitoring because tight wraps can cause complications.
What you need before you start
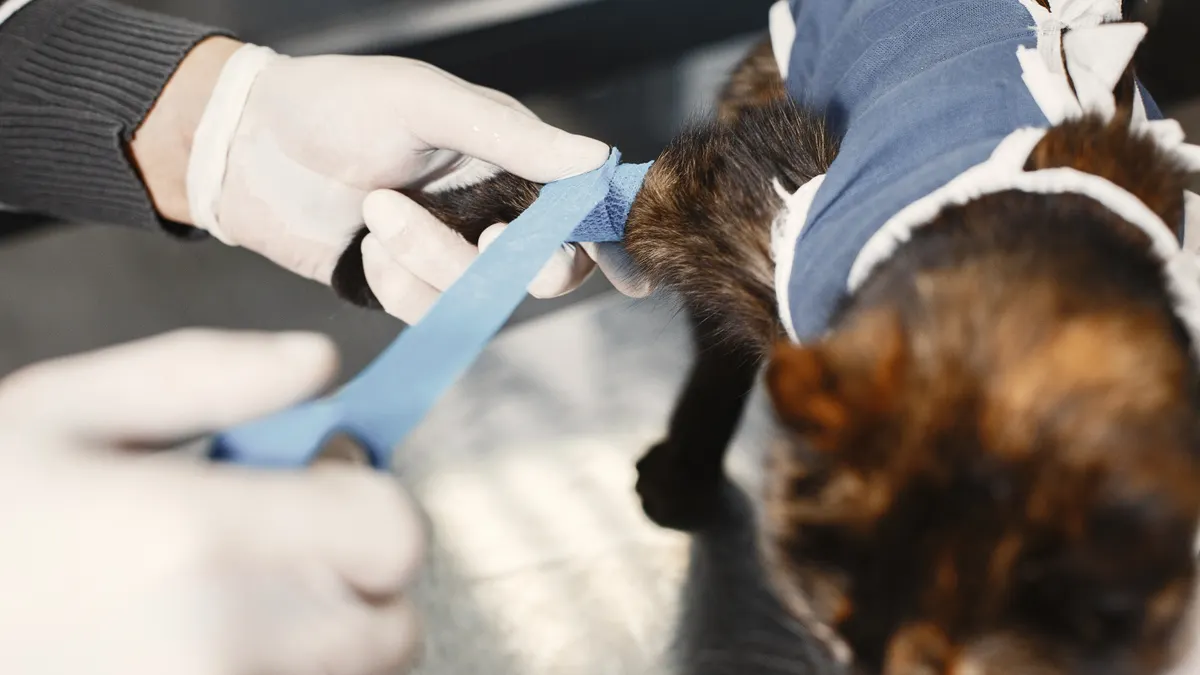
You need gauze, padding, a self-adhesive wrap, and tape before you touch the paw. A small roll of 2-inch gauze often fits a cat or small dog; larger dogs usually need 3-inch material. Keep blunt scissors nearby, and if the pet is painful, have a second person ready to hold the head and body still. In many cases, 2 to 3 hands make the job safer.
Use the softest materials you have. Cotton padding, rolled gauze, and a self-adhesive wrap such as Vetrap-style tape are the usual stack. Skip sticky adhesive directly on fur whenever possible. It pulls hair, irritates skin, and makes removal harder. For more general first-aid planning, the pet safety emergencies hub can help you decide what to do next.
You also need a way to check the toes after the wrap is on. Look for toe color, warmth, and swelling. If the paw is already badly swollen, crooked, wet with blood, or the pet will not let you touch it, stop and call a veterinarian. A wrap is for temporary protection, not for forcing an injured limb into shape. If you are unsure, the emergency pet care basics page is a better next stop than guessing.
How to bandage a pet paw, step by step
Start by holding the paw in a natural position and building the wrap from the toes upward. The wrap should feel secure but never tight, and the toes should stay visible at the end. If you cannot keep the toes visible, consult a veterinarian or veterinary nurse before continuing.
-
Keep the pet still and support the leg. Have the pet sit or lie down on a towel, then cradle the leg just above the injured area. A calm hold matters more than speed; if the pet struggles hard for more than 30 seconds, pause and reset so the bandage does not start under tension.
-
Place a light layer of gauze over the paw. Cover the injured surface without pressing on the wound itself. The gauze should lie flat and create a clean surface between the skin and the outer wrap.
-
Add padding around the paw and lower leg. Wrap soft padding in overlapping turns from the toes toward the wrist or hock. Aim for even coverage, not bulk. The padding should smooth out pressure points and make the bandage feel cushioned, not rigid.
-
Secure the padding with gauze or self-adhesive wrap. Use a self-adhesive wrap with about half the width overlapping each turn. Pull it snug, not stretched hard. When it is right, the wrap stays in place without pinching the leg. If you are not sure about the tension, ask a vet professional to show you.
-
Leave the toes exposed. The tips of the toes should remain visible so you can check swelling and circulation. If the wrap covers the toes completely, redo the end of the bandage. Visible toes are your early warning system.
-
Add tape only to hold the top and bottom edges. Use tape sparingly, and never circle tape all the way around a narrow leg with tension. Too much tape can act like a tourniquet. The goal is to stop unraveling, not to clamp the limb. If the tape starts to bunch or pull, remove it and seek professional advice.
-
Check the bandage immediately. The toes should stay warm, and the pet should be able to stand or bear some weight without obvious worsening pain from the wrap itself. If the toes swell, cool off, or turn pale or blue, remove the wrap at once and get veterinary help.
How tight should a pet paw bandage be?
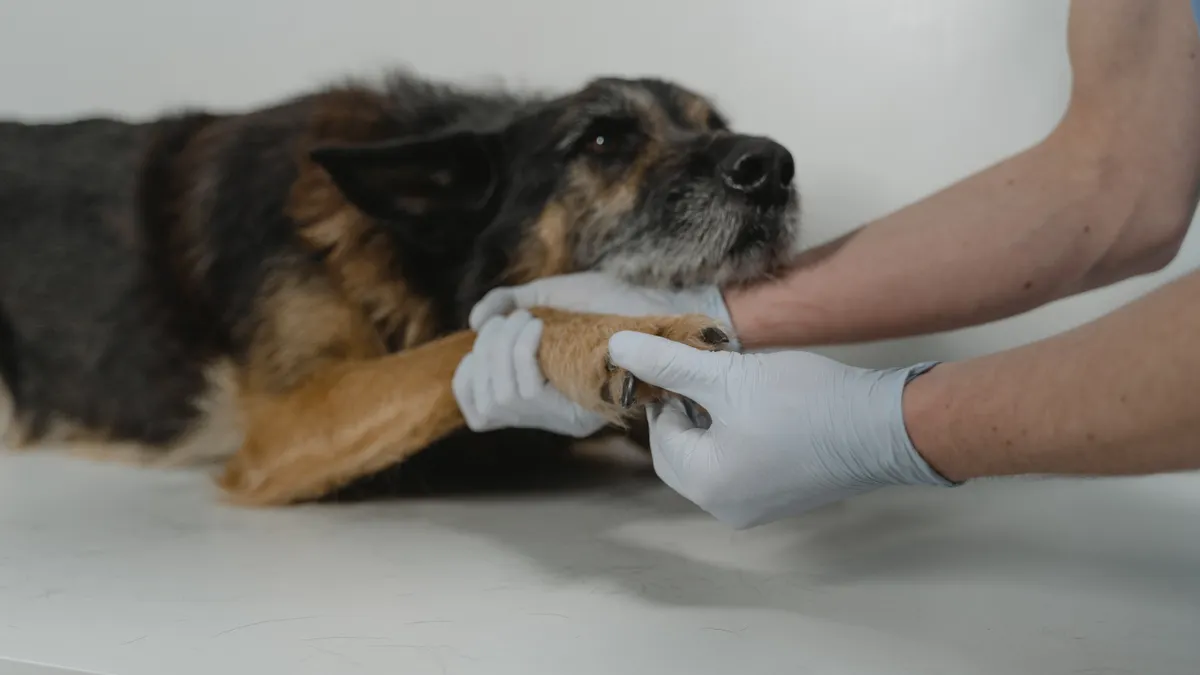
It should be snug enough to stay put for a short trip, but loose enough that two fingers can slide under the top edge in many dogs. That is a practical rule, not a guarantee, because cats and small dogs have slender legs and can lose circulation faster than expected. If you are unsure, ask a veterinarian to check the fit.
Watch the toes, not just the wrap. Healthy toes stay warm and roughly the same color as the other foot. If the toes puff up, spread apart, or look cold within minutes, the wrap is too tight. A bandage that seems fine at minute one can become harmful after the pet lies down, limps, or starts to swell.
A good wrap does not make the pet act more distressed than the injury already does. If the bandage creates new limping, persistent licking at the wrap, or crying when the leg is touched, take it off. Tight wraps can cause swelling, numbness, and tissue damage, so this is one place to be conservative rather than clever.
Padding, pressure wrap, and circulation: the part people skip
Padding is the difference between a helpful wrap and a pressure sore. The bony parts of the lower leg, paw pads, and the narrow area above the paw take concentrated force when the bandage is thin. A wrap with 2 layers of gauze and a soft underlayer spreads that force out.
The pressure wrap should be firm across the whole length, not strangled at one spot. The most common mistake is pulling the self-adhesive wrap harder near the top because the leg narrows there. That creates a tight ring that blocks blood flow. Keep each turn even and smooth, with no hard ridges or wrinkles. If you cannot keep it even, consult a veterinary professional.
Check circulation right after wrapping and again every few hours until the vet sees the pet. Look at the visible toes for swelling, temperature, and color. If the pet has long fur, part it gently enough to see the skin at the edge of the bandage. A good wrap leaves the toes stable for at least the first several minutes. A bad one shows trouble early.
This matters even more for cats, toy breeds, and any pet that is already in pain or shock. Those pets are less tolerant of added pressure. If the paw injury is on a leg that already seems cold, weak, or badly swollen, a temporary wrap may do more harm than good, so ask a vet before bandaging.
When not to bandage a pet paw
Do not bandage if the limb looks crooked, the pet cannot place any weight on it, or the swelling is severe. A wrap can hide a fracture or worsen tissue pressure when the problem needs urgent veterinary assessment instead. The same warning applies if the paw is burned, deeply punctured, or badly contaminated. In those cases, contact a veterinarian right away.
Skip the bandage if you cannot keep it clean and dry. A wet wrap traps heat and moisture, which can soften skin and make the wound messier by the time the pet reaches the clinic. If the pet keeps chewing at the wrap or tears it open within minutes, the wrap is not serving its purpose.
There is also a simple rule: if you are unsure where the injury ends and healthy tissue begins, a tight or messy wrap is the wrong move. A temporary cover should protect the foot on the way to care, not become a project that delays care. A clean, light cover and a prompt vet visit are often the better choice.
For broader emergency decision-making, the pet safety emergencies hub is the right place to start if the injury is only one piece of a larger problem.
How long can the wrap stay on before it needs changing?
A temporary pet paw bandage should be checked the same day and changed sooner if it gets wet, slips, or starts to smell. For many injuries, that means checking within a few hours rather than leaving it untouched overnight. A wrap on a lower leg is easy to loosen as the pet walks, shakes, or lies down. The shorter the delay, the easier it is to spot problems.
Change it immediately if the toes swell, the bandage slides toward the paw, or fluid soaks through. A damp wrap is not just uncomfortable; it can rub the skin raw and hide worsening problems underneath. If the outer layer gets dirty but the inner layers seem dry and stable, do not assume it is fine for long. Dirty wraps still need veterinary review.
Do not keep rewrapping the same leg over and over at home unless a vet has told you to. Repeated tightening and removal can irritate skin and make circulation checks less reliable. If the injury is going to need more than very short-term protection, the pet needs an exam and a plan, not a fresh bandage every few hours.
What a good wrap looks like when it is working
A good wrap stays smooth, covers the injured area, and leaves the toes visible. The pet may still limp because of pain, but the bandage itself should not create a new problem. The leg should not look pinched at the top edge, and the toes should not puff up within the first 10 to 15 minutes.
A bad wrap usually announces itself fast. The pet chews at it, cries when weight shifts, or holds the paw out stiffly. The toes may turn cold, pale, or blue, or the wrap may creep downward as the pet moves. Those are signs to remove it and get help, not to add more tape.
A temporary bandage is a bridge to the vet, not a cure. If the wrap is doing its job, the paw stays protected until proper care begins. Keep the wrap simple, keep it loose enough to protect blood flow, and treat any change in toe color, temperature, or swelling as a warning sign.
How tight should a pet bandage be?
It should be snug, but not tight enough to change toe color, warmth, or swelling. In many dogs, two fingers can fit under the top edge, but that is only a rough guide. A wrapped paw that looks more swollen or feels cooler after 10 to 15 minutes is too tight and should be removed.
Can I use human bandages on a pet paw?
You can use some human first-aid materials, but a pet paw bandage works better with gauze, padding, and self-adhesive wrap than with sticky human bandages alone. Adhesive strips can trap fur and slip on a moving leg. A loose, layered wrap is safer for a dog or cat than a small sticky pad that cannot breathe or stay put.
When should a wrapped paw be checked by a vet?
It should be checked as soon as possible, and the same day if the pet is limping, swollen, or in pain. Check it sooner if the toes become cold, pale, blue, or puffy, or if the wrap slips or gets wet. A bandage is only a short-term shield, not a substitute for diagnosis and treatment.
Drafted with AI; not yet reviewed by a person.