Last updated: November 01, 2026
Quick Answer: Pet first aid supplies and home response — The Complete Guide starts with 7 core items: gauze, nonstick pads, vet wrap, saline, blunt scissors, a digital thermometer, and a muzzle or towel restraint. If a pet is bleeding, choking, limping, overheating, or vomiting after eating something suspicious, the best first move is not panic — it is a stocked kit and a short, practiced home response. I write about animal care and emergency preparedness, and the part most people miss is simple: first aid for pets is about buying time, not treating the whole problem. If you are not sure what to do, consult a veterinarian or poison hotline; the ASPCA Animal Poison Control Center lists 888-426-4435 and Pet Poison Helpline lists 855-764-7661.
Key takeaways
- A pet first aid kit should be built for the problems that start at home: cuts, splinters, diarrhea, eye irritation, bandage control, and accidental toxin exposure.
- The most useful supplies are not fancy. Sterile gauze, nonstick pads, vet wrap, saline, blunt-ended scissors, a digital thermometer, and a muzzle or towel for restraint do most of the work.
- The right home response depends on the emergency. Bleeding, choking, heat stress, poisoning, and seizures all need different steps.
- Some mistakes make an emergency worse fast: giving human pain medicine, forcing water into a choking or vomiting pet, tightening a bandage too much, or delaying a vet visit after a serious injury.
- A pet first aid kit should be paired with two things: your veterinarian’s number and the nearest 24-hour emergency clinic.
What belongs in a pet first aid kit?
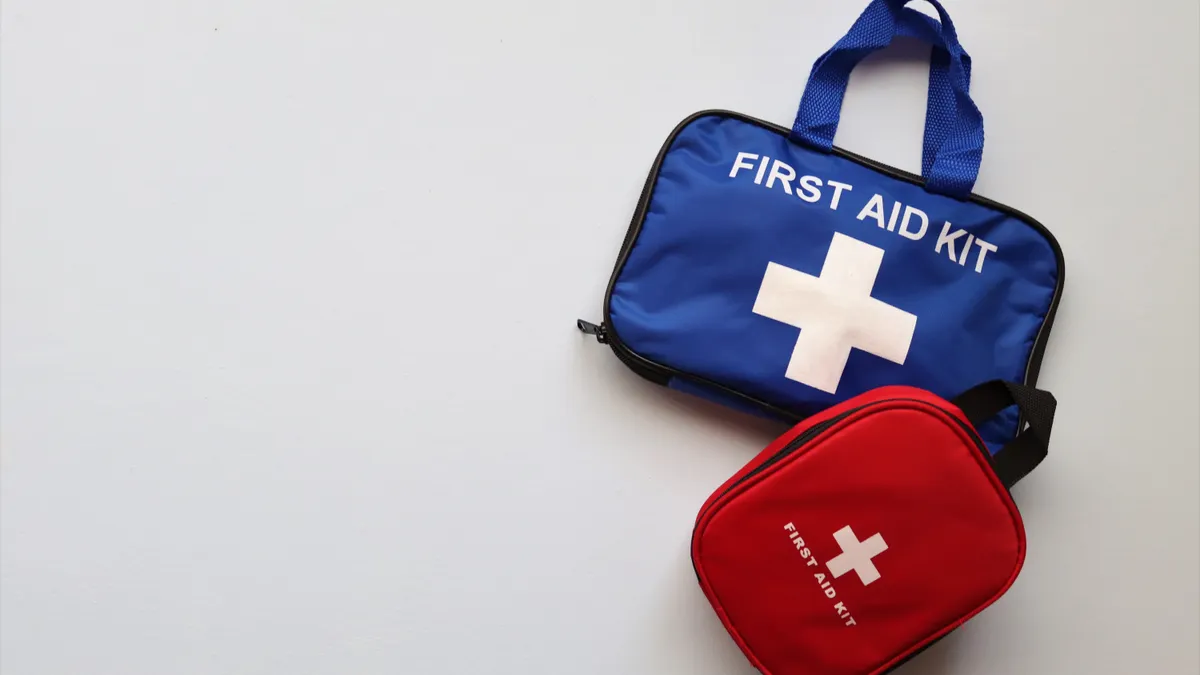
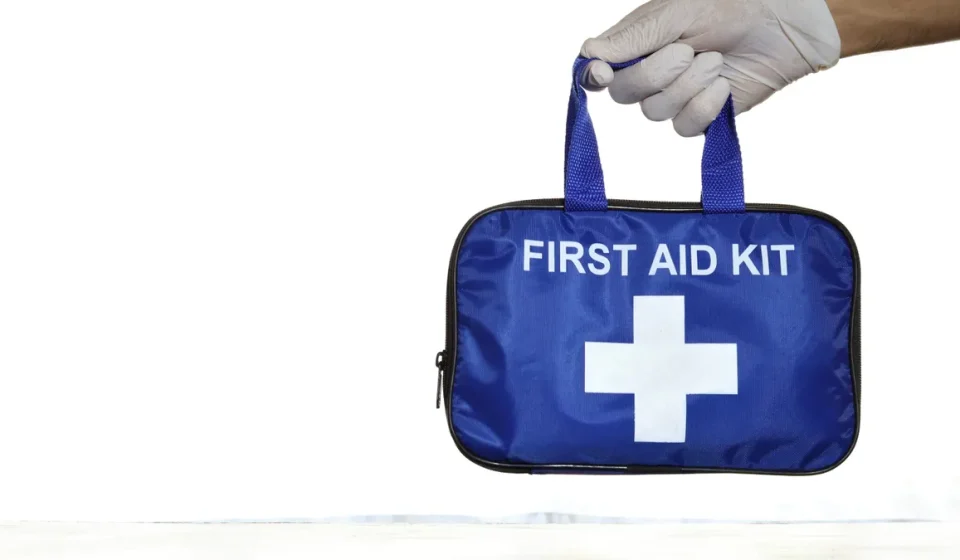
A pet first aid kit should start with wound care, restraint, and poison-response tools, because those solve the widest range of at-home problems. A generic “pet emergency kit” that only includes treats, a leash, and a blanket is too thin for real use, so consult a veterinarian or trusted emergency guide before relying on it.
The core supplies are straightforward:
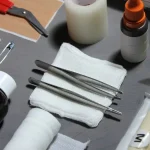
- Sterile gauze pads and rolled gauze
- Nonstick pads for cuts and abrasions
- Self-adhering wrap such as Vet Wrap, used loosely over gauze
- Medical tape that sticks to itself or to fur-resistant surfaces
- Saline solution for rinsing eyes, wounds, and debris
- Blunt-ended scissors
- Tweezers or hemostats for splinters, ticks, or debris
- Digital thermometer
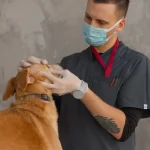
- Disposable gloves
- Instant cold pack
- Clean towel or blanket
- Muzzle or soft restraint material
- Small flashlight
- A printed card with your vet, emergency clinic, and poison-control contact details
The supplies that often get left out are the ones that matter most. A digital thermometer is not optional if you want to tell the difference between “the dog seems hot” and true hyperthermia. A muzzle matters because even gentle pets can bite when in pain. Saline matters because tap water is not ideal for eyes and may sting wounds.
I would also include pet-safe lubricant for a thermometer if you know how to use one rectally, and a clean syringe for measured oral fluids only when a vet has said that home rehydration is appropriate. Skip hydrogen peroxide for wound cleaning. Skip aspirin, ibuprofen, acetaminophen, and naproxen unless a veterinarian has specifically prescribed them for that animal. These are common human mistakes and common causes of harm.
If the pet has a chronic condition, the kit should include any prescribed rescue medication stored exactly as directed. For a diabetic pet, that means insulin handling supplies. For a seizure-prone pet, that may mean the emergency benzodiazepine your vet has already prescribed for home use.
How do I decide what first aid supplies a pet actually needs?
The right kit depends on your pet’s species, size, medical history, and the kind of household you live in. A city cat in a studio apartment and a Labrador that hikes every weekend do not need the same gear.
A practical way to build the kit is to sort risks by likelihood:
- Dogs that walk outdoors often: paw pad injuries, foxtails, ticks, hot pavement burns, torn nails, toxin exposure from dropped food or trash
- Indoor cats: fights, bite wounds, eye irritation, hairball-related vomiting, toxin exposure from houseplants or cleaners
- Small dogs and brachycephalic breeds: breathing distress, overheating, aspiration risk, collar-related neck injury
- Large active dogs: lacerations, limping, nail breaks, heat stress, foreign bodies in paws or mouth
- Rabbits, ferrets, birds, and other small mammals: these animals can deteriorate quickly, so the kit should include a carrier, towel wrap materials, and the number of an exotics veterinarian
This is where generic advice often fails. A first aid kit built for a dog is not automatically enough for a cat, and neither is enough for a rabbit. For example, a cat kit needs restraint supplies that minimize struggle; a rabbit kit needs a transport plan because stress alone can become an emergency. A bird kit should prioritize safe transport and temperature control over wound dressings.
The most honest rule is this: build around your vet’s emergency advice, not around the aisle labels in a pet store. Many commercial kits are overloaded with low-value items like tiny bandages or novelty stickers and understocked on useful ones like saline and gauze. If you buy a pre-made kit, treat it as a starter set, not a finished answer. Check the contents against the actual risks in your home.
A final point: every kit needs a printed emergency page, because phone batteries fail and panic erases numbers. Include your regular vet, the nearest 24-hour emergency hospital, and ASPCA Animal Poison Control Center at 888-426-4435 or Pet Poison Helpline at 855-764-7661, depending on what service is available in your region. Those are not substitutes for a vet exam, but they can tell you what to do in the first minutes.
The real difference between a basic kit and a serious one
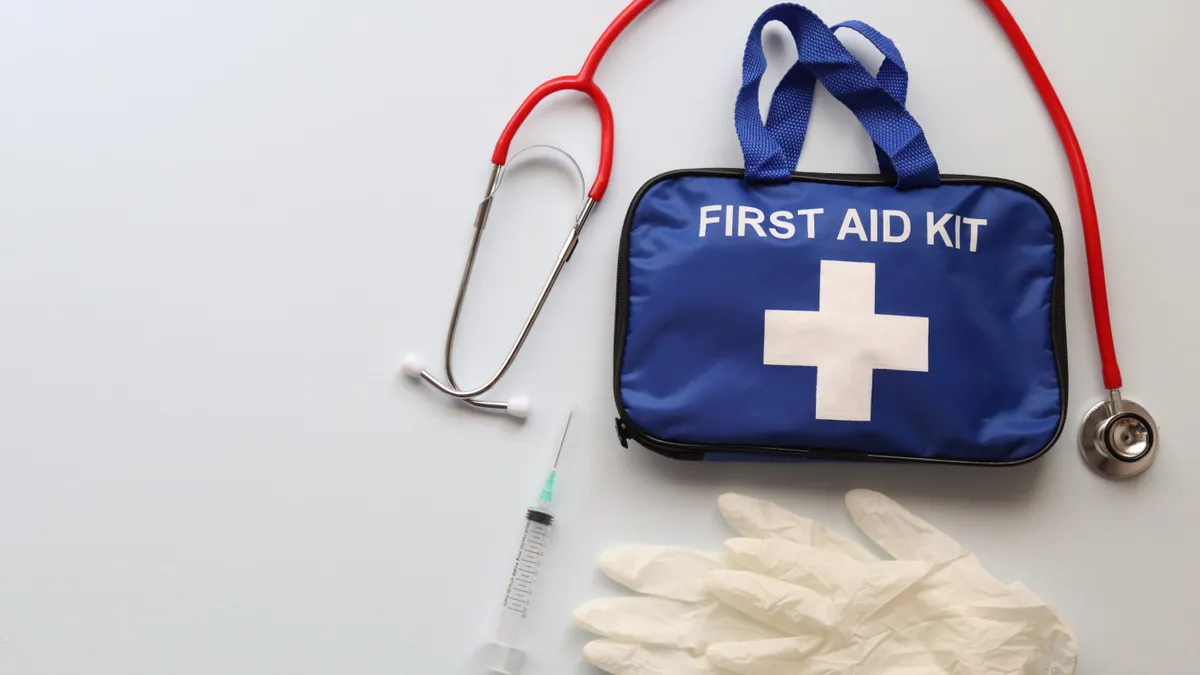
A serious kit wins because it can handle both injury control and triage, while a basic kit only covers the obvious scrape. That difference matters most after hours, when the nearest clinic may be 30 minutes away and the pet’s condition can change before you get there.
| Criteria | Basic kit | Serious kit | Winner for this condition |
|---|---|---|---|
| Wound coverage | A few bandages and wipes | Gauze, nonstick pads, vet wrap, tape, saline | Serious kit for cuts, pads, and punctures |
| Restraint | Leash or towel | Muzzle, towel wrap, carrier, gloves | Serious kit for bite risk or panic |
| Temperature check | None | Digital thermometer | Serious kit for heat stress or shock concern |
| Eye rinse | Often missing | Sterile saline | Serious kit for dust, debris, or chemical exposure |
| Toxin response | Rarely included | Printed poison numbers, activated charcoal only if a vet directs it | Serious kit for possible poisoning |
| Tools | Few or none | Scissors, tweezers, flashlight | Serious kit for splinters, ticks, and debris |
| Transport | Improvised | Carrier, blanket, waterproof liner | Serious kit for travel to emergency care |
| Chronic illness support | None | Prescribed rescue meds, dosing sheet | Serious kit for pets with known conditions |
| Storage | Drawer or bag | Waterproof, organized case with expiry checks | Serious kit for real emergency use |
The serious kit is not just “more stuff.” It is better because it reduces guesswork. When blood is on the floor or a cat is hiding under furniture after a fall, the time penalty for searching a drawer is real. A kit with labeled compartments and a printed contact card is a different tool, not a fancier version of the same one.
The basic kit still has a place. It is fine for a healthy, indoor pet in a low-risk home where the nearest clinic is close and the owner already has easy access to a pharmacy and transportation. But it fails in the exact situations that make first aid necessary: stress, darkness, and time pressure.
The serious kit also has trade-offs. It costs more, takes more space, and needs maintenance. Saline expires. Batteries die. Gloves get used and never replaced. A flashlight that lives in the kit is useful only if it still works when needed. That maintenance burden is the price of preparedness.
For most households with a dog or cat, the serious kit is the better buy. For a low-risk apartment cat with no outdoor access and no medical issues, the basic kit plus a clear vet plan is enough.
How should I respond to bleeding, cuts, and torn nails?
For bleeding, direct pressure with sterile gauze is the first move, and a serious wound deserves a vet visit even if the bleeding slows. The right response is controlled pressure, not frantic cleaning.
Start by restraining the pet calmly. A muzzle may be necessary if the animal is painful and likely to snap. Apply firm, steady pressure with gauze or a clean cloth over the wound. If blood soaks through, do not remove the first layer; add another on top. Removing the first layer can pull off the forming clot.
For paw pad cuts or leg wounds, a light bandage can protect the area on the way to the vet, but it must not be tight. Toes should remain warm and visible enough to monitor for swelling. A bandage that is too tight can cut off circulation in a matter of hours. If you cannot keep the wrap properly placed, leave it off and go straight to the clinic with pressure held over the wound.
Torn nails are messy and painful, and they often bleed more than the injury looks like it should. Use gauze and pressure. If the nail is hanging loose, do not rip it free at home. That is a job for a veterinarian, who may need to trim the damaged part and control pain.
A generic article often stops at “clean the wound.” That advice is too thin. Wound cleaning is secondary to bleeding control. If the wound is deep, gaping, spurting, contaminated with debris, or located near an eye, joint, or chest, the pet needs veterinary care. Home first aid is not a replacement for sutures, pain control, or antibiotics when those are indicated.
One more practical detail: keep the pet from licking the area. An Elizabethan collar is often more useful than any ointment in the kit. Licking reopens wounds, removes clots, and drives dirt deeper.
What should I do if my pet is choking, coughing, or struggling to breathe?
If your pet is struggling to breathe, this is an emergency and you should head to a veterinarian immediately while calling ahead. True breathing difficulty is not something to “watch for a few hours.”
Choking and breathing distress are easy to confuse, but the response differs. A choking pet may paw at the mouth, panic, gag, or drool. A pet with airway distress may extend the neck, breathe with an open mouth, make noisy inhalations, or appear weak and blue around the gums. Both situations deserve urgent care, but forcing a hand into the mouth is dangerous unless you can clearly see and safely remove the object.
If you can see a large object near the front of the mouth and remove it easily, do so without pushing it farther back. If not, do not blindly sweep the mouth. You can worsen the blockage or get bitten. For a pet that is unconscious or collapsing, immediate veterinary help is critical. If you know the species-specific first aid maneuver recommended by your veterinarian or a trusted emergency reference, use it only as a bridge to care, not as the finish line.
Dogs with short noses, especially brachycephalic breeds, can deteriorate quickly because the airway is already narrow. Cats that are open-mouth breathing are not “just stressed” until proven otherwise. They need urgent evaluation.
Do not force water or food into a choking or breathing-distressed pet. Do not stress the animal by chasing it around the house. Move it as calmly as possible into a carrier or wrapped towel and get on the road.
A home kit helps here mainly through restraint and transport: towel, carrier, and phone charger. It is not a substitute for the clinic. The limitation is blunt but important: if the pet cannot breathe well, the safest first aid is rapid transport and professional care.
How should I handle vomiting, diarrhea, poisoning, or a possible toxin exposure?
For poisoning, the safest home response is to remove access to the substance, identify what was eaten or contacted, and call a vet or poison hotline before doing anything else. This is one area where improvisation causes real harm.
The first step is to secure the scene. If a pet chews a bottle, plant, cleaner, or medication, collect the packaging and estimate how much may be missing. If the pet has vomited, save a sample or take a photo if possible. That information changes what the clinician recommends.
Do not give human antidiarrheals, human pain relievers, or random home remedies. Do not induce vomiting unless a veterinarian or poison specialist specifically tells you to do so. Some substances burn on the way back up, and some can be inhaled into the lungs. That is why the “make them throw up” advice is outdated and dangerous as a blanket rule.
For simple vomiting or diarrhea without toxin exposure, the main home response is monitoring and hydration, but only when the pet is otherwise bright, alert, and stable. If there is blood, repeated vomiting, severe lethargy, abdominal pain, collapse, or a distended belly, this is not a home-care problem.
A pet first aid kit can help with this category by keeping the poison numbers visible, the carrier ready, and the pet’s medical record accessible. It can also include a notebook where you record what time the signs began, what the pet ate, and how many times vomiting or diarrhea occurred. Those details help the vet more than vague memory does.
The trade-off here is straightforward: home observation is useful only for mild, short-lived stomach upset in an otherwise normal pet. Anything beyond that needs professional assessment. If the pet is a puppy, kitten, senior, or has a chronic illness, the threshold for calling should be lower.
What should I do for heat stress, shock, seizures, and eye injuries?
For heat stress, shock, seizures, and eye injuries, the right response is different each time, but the constant is the same: reduce harm while getting veterinary help fast. A one-size-fits-all “calm them down and wait” approach is wrong.
Heat stress: move the pet to shade or air conditioning immediately. Wet the body with cool, not ice-cold, water if advised by a vet reference, and use airflow. Do not dunk the animal in ice water. Overcooling and shock can make things worse. A rectal thermometer is useful here because “feels hot” is not a measurement. A normal rectal temperature for many dogs and cats is around 100 to 102.5°F, though your veterinarian may give species-specific guidance. If the temperature is high or the pet is weak, go to the clinic.
Shock: keep the pet warm, quiet, and flat if possible. A blanket works, but avoid heating pads that can burn or worsen inflammation. Shock can follow trauma, blood loss, or severe illness, and it is not something to manage fully at home.
Seizures: move furniture away, dim lights, and do not put anything in the mouth. Time the seizure if you can. A seizure lasting more than a few minutes or repeated seizures close together is an emergency. If your vet has already prescribed a rescue medication for this exact pet, follow that plan only.
Eye injuries: flush with sterile saline if debris is visible, but do not rub the eye or apply human eye drops. Squinting, pawing, cloudiness, or a visibly damaged eye needs urgent veterinary attention. Eye problems worsen fast, and delay can cost vision.
The first aid kit supports these events through saline, thermometer, towel, flashlight, and transport supplies. The kit does not solve the underlying crisis. That distinction matters because many owners confuse “I did something” with “the problem is handled.” It is not.
Which supplies are worth buying first, and which can wait?
The first purchases should be the items that solve the most emergencies with the least complexity: gauze, nonstick pads, vet wrap, saline, blunt scissors, a thermometer, a muzzle or towel restraint, and a carrier or sturdy transport plan. Those are the core tools.
The second tier can wait until the basics are in place:
- Tick remover or fine tweezers if your pet goes outdoors
- Instant cold pack
- Sterile lubricant for thermometer use
- Disposable booties for paw injuries
- Flashlight
- Notepad and waterproof pen
- Spare leash
- Prescription rescue meds, if prescribed
The items that often get oversold are decorative bandages, tiny “pet-safe” wipes, and novelty kits packed with low-use accessories. Those look complete on a shelf and still fail in practice. A single roll of proper gauze is more useful than a box full of cute but flimsy supplies.
If the pet has a known risk profile, prioritize accordingly. An outdoor cat needs tick tools and carrier readiness. A flat-faced dog needs cooling supplies and quick transport. A rabbit or ferret needs a travel carrier and an exotics vet number before anything else.
The best approach is not to assemble a giant drawer that nobody can find. It is to build a compact, labeled kit, keep it in one place, and check it every six months. That maintenance schedule is boring, but it is what turns supplies into readiness.
Exception scenarios that change the answer
The overall home-first-aid plan changes if any of these are true.
1. The pet has a chronic disease.
A diabetic pet, seizure-prone pet, or cardiac patient needs a personalized plan from a veterinarian. Generic first aid is not enough, because timing and medication decisions matter more.
2. The pet is very small or very young.
Puppies, kittens, rabbits, and other small animals can crash faster than healthy adult dogs and cats. Waiting to “see how it goes” is riskier here.
3. The pet is a brachycephalic breed.
Pugs, bulldogs, and similar breeds can have airway trouble sooner than other dogs. Breathing changes deserve faster escalation.
4. The problem involves the eye, the chest, the belly, or repeated vomiting.
Those are not routine home-care cases. They often need imaging, pain control, or urgent intervention.
In those situations, the kit still helps, but only as transport support and short-term stabilization. The plan flips from “manage at home first” to “stabilize briefly and go.”
What should a pet owner do tonight to be ready?
Tonight, put the basics in one container, write down the emergency numbers, and decide which clinic gets called after hours. That is enough to change the outcome of a real incident.
Use a waterproof box or zipper bag and include:
- Gauze and nonstick pads
- Vet wrap
- Saline
- Blunt scissors
- Tweezers
- Disposable gloves
- Digital thermometer
- Towel or blanket
- Muzzle or soft restraint
- Flashlight
- A printed contact sheet
- A few days’ worth of any prescribed rescue meds, if relevant
Then walk through one simple question: if this pet started bleeding, choking, overheating, or vomiting at 9 p.m., what would I do in the first five minutes? If the answer is unclear, the kit is not complete yet.
Choose the serious kit if your pet has outdoor exposure, a medical history, or a long drive to emergency care. Choose the basic kit only if the pet is low risk, healthy, and close to a clinic. Neither is enough if you are trying to use human medication, skip the vet after a significant injury, or improvise poison treatment at home.
Drafted with AI; not yet reviewed by a person.